

I think it was 2018 when I designed this decal. I wanted something reasonably interesting. I could have done a multi-colored decal, maybe with green lizards, but I didn’t want to work that hard & waste vinyl when anything will do the job. I also didn’t want to be so stand-outty (yep, I make up my own words, when they work best. I nearly have my own dictionary). Although an entire, in-your-face shade of green or pink may be cool, I wanted to be a bit subtle.
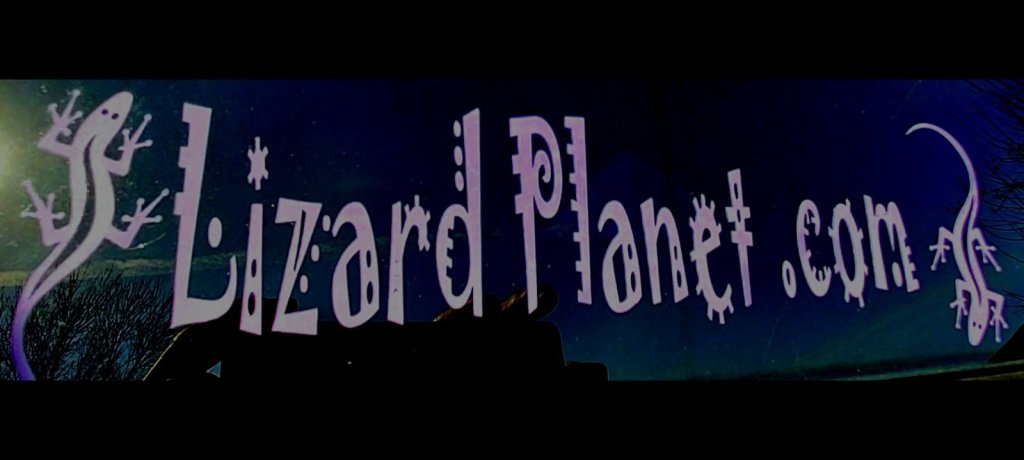
I selected a dark purple vinyl (the lens lies, it’s much darker than this photo makes it appear, maybe I should have photographed it on a cloudy day).
Unsure of where I wanted it or the size I desired, I went out with tape measure in hand & made my choices.
I either scribbled the specs on my hand, like my teenage self would do (at least I don’t draw & write on my jeans anymore), or I repeated the #’s to myself as I walked into the house, like a mantra… “9 1/4 by 2 1/2, 9 1/4 by 2 1/2, 9 1/4 by 2 1/2…” (inches).
I proceeded to select an eye-catching font for a simple design. I cut a rectangle from the roll of vinyl and placed it where it goes on the cutter (not one of those Cricut types). I then went into the software and selected a speed and cutting depth I thought may work, and not blow through the vinyl or ruin the lettering and all the tiny details at any point of the cutting process. It’s tricky. I needed to cut only the top layer, leaving the backing, almost like slightly penetrating the epidermis of the stuff. Obviously, descriptive ability stops short here.
I don’t recall if the font was an option within the software for the cutter, if it was found elsewhere, or the name of it. Maybe I’ll come across the file or notes sometime.
I got lucky!! Oh goody – a rarity!! The product looked promising, so I laid the piece on the work table.
Now for the time-consuming part: with the tiny, hooked tool I stabbed a piece of vinyl to lift it from the sticky backing and away from the cut work (all that would be the end result, the new decal), leaving the dots and detail that belong, and plucking the bits of vinyl everwhere vinyl didn’t belong. That took a minute (or 15)!
“Voila” [Exhale loudly, stretch, crack back and knuckles]!! I then cut a similar sized shape of transfer tape from its roll by peeling a bit from the roll that roughly matched the size of vinyl & sliced it with a utility knife. I then applied it to my vinyl piece. Beginning at the lower, left corner, I applied the transfer tape to the top of the decal using a plastic scraping/flattening tool (where the tape was applied would soon become the side of the letters exposed to the elements). Dispersing adequate pressure outwards (three or more hands would be handy here) beginning at the first laid corner ensures (the corner of the tape, meeting the new decal) proper adhesion and no bubbles, which would affect the quality of the end result. You all picturing this alright?😁
Now, with unwanted vinyl removed, also from my fingers (using vinyl that has been peeled so far & rolled into a ball works wonders to use as sticky tape to collect the rest), it was time to peel the vinyl’s backing from the lettering that is now stuck to the transfer tape on the opposing side.
After this step, I was seeing the decal as others would, just momentarily on a clear piece of tape.
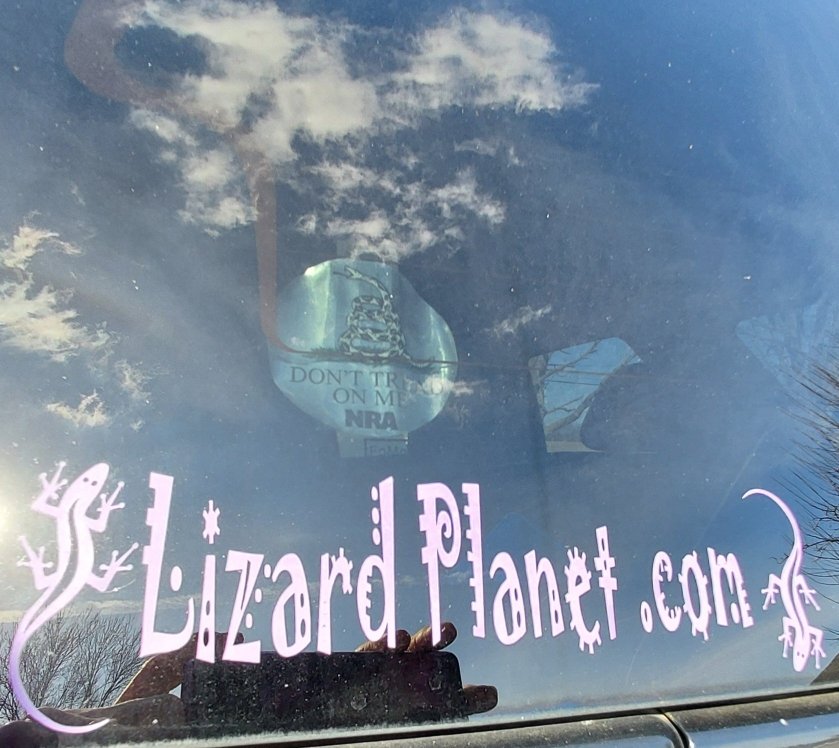
With my rear window cleaned and prepped, I positioned the decal straight (I think) and with the plastic scraper, applied pressure at the lower left corner, moving up & across and down as well, until I was confident all the vinyl would adhere to the glass. Then I slowly peeled the transfer tape, and there it was.
As you see, our decal has lasted amazingly!! It’s been nearly five years since I put that on the window, and I don’t think it has faded any (great product ,vinyl company).
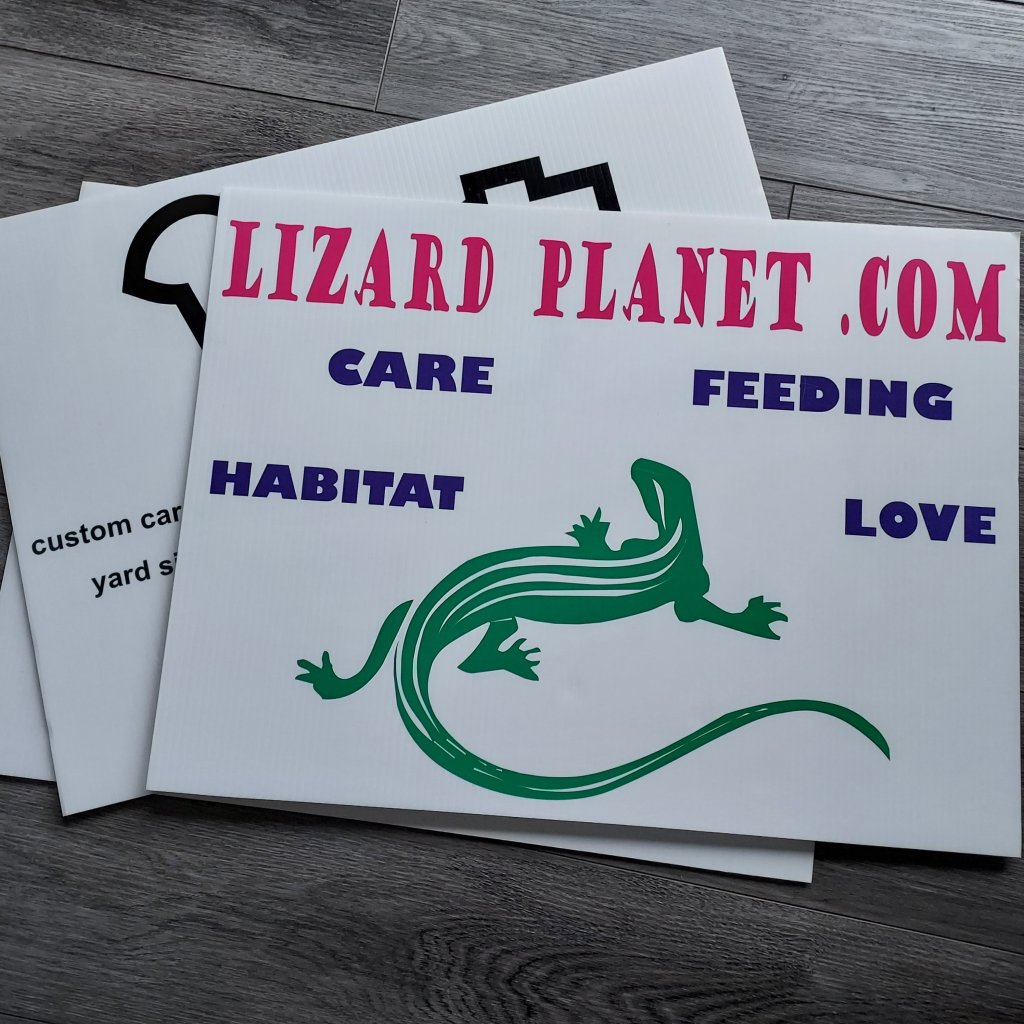
Peep it out… we’re dabbling into lasering! When I say dabbling, actually, we’re practicing for now, learning software and material settings. But this needs to and will be a money maker, considering the cost to get here!!
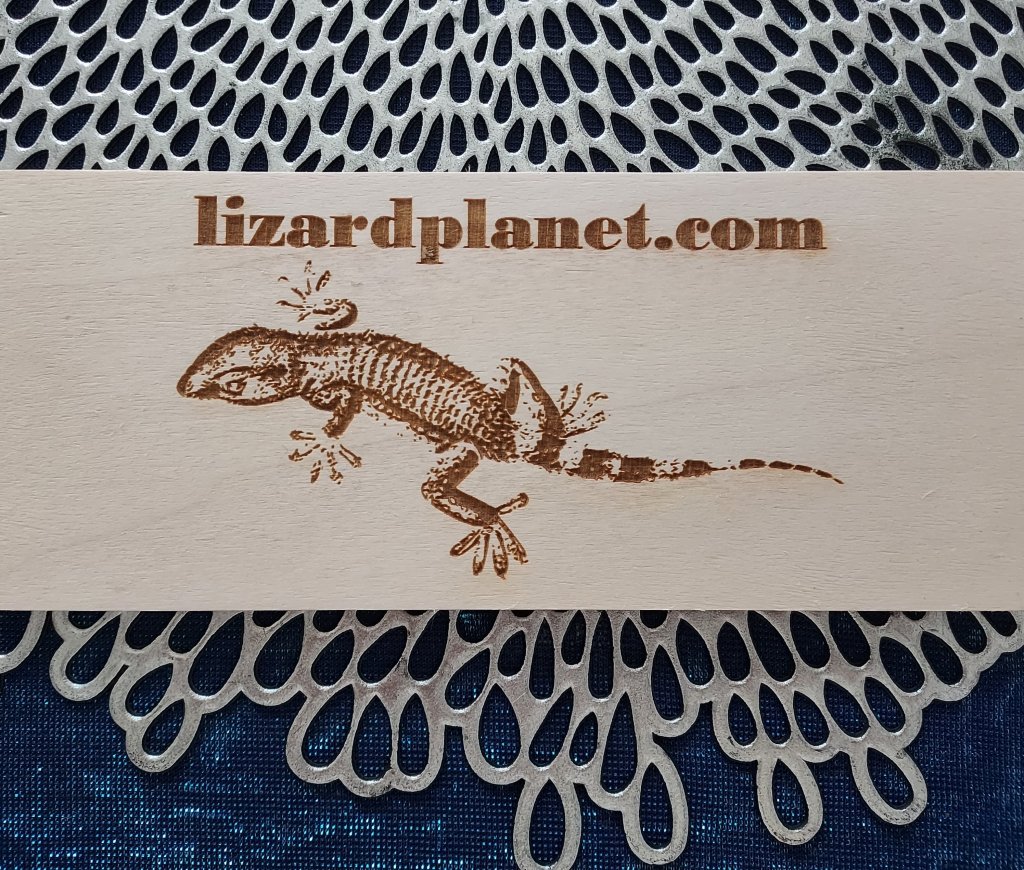
We’ll master this to the best of our abilities & share what we have created along the way! Mirrors, painting the backside after lasering for depth & realism, using led lights for glass & acrylics on designs made from the software… we can do that with what we have!! We can do tiles & more! I could actually monogram Murph’s new enclosure doors when we get it (hopefully soon)!
“Give me Lizardry or give me Death!” – Dawn❤️

Leave a comment